Easy DIY Brand Hack:
The 5 Things Your Brand Needs
- Your Vibe: The Overall Feel and Look
- Four to Six Brand Colors
- Two to Three Brand Fonts
- Simple – Readable Logo
- Branded Templates in all the Sizes
5 Things You Need to DIY Your Brand
1. Brand Vibe: What is the Overall Look and Feeling You Are Going for?
The first thing to consider is what kind of look are you going for with your brand. Do you want it to be clean and chic, edgy and creative, masculine, feminine or neutral? Knowing this upfront will help you choose the elements that make up your visual branding.
Keep in mind the audience you want to appeal to when choosing a vibe. If you only want to appeal to women you can make that clear in your color scheme and creative elements.
Read More about creating a brand vibe this post: Are Your Graphics Attracting the Audience.
2. Logo: Keep it Simple
Logos can require a lot of work but my suggestion is to leave that to the professionals and if you are DIY-ing your brand then keep your logo simple. A text-only logo is a great option but the most important thing to remember is that it needs to be EASY to READ.
Another budget-friendly option is to look for a Pre-made logo on Creative Market, Etsy or Canva.
I know you want your logo to stand out but here’s the thing… don’t let designing the perfect logo hold up your business plans. Later on, when your brand has grown and those business plans take you beyond your dreams you can hire a professional to design a logo that matches your growing business.
Also, some of my favorite online influencers and brands have super simple wordmarks for their logos. For example Jasmine Star, Amy Landino and Sephora.
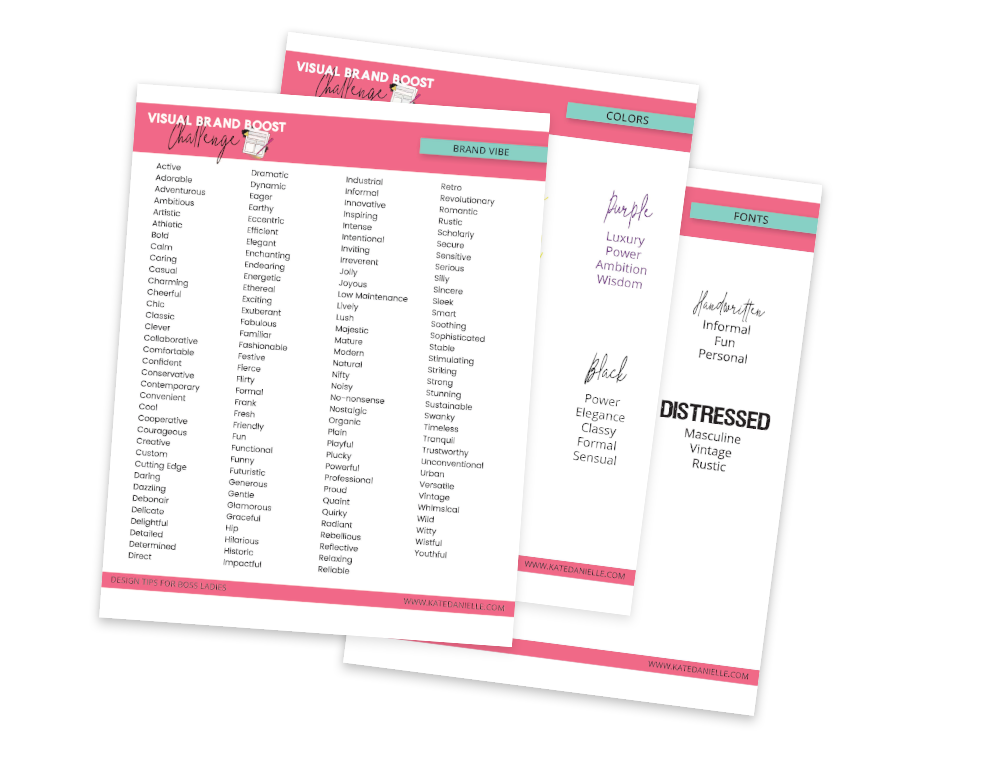
Get this Guide to Help You with Your Brand Vibe, Fonts, and Colors
Sign up below ▼
3. Colors: A Simple Formula
Choosing your colors can be one of the most time-consuming tasks if you’re not careful. How many do you need? What goes together? And if you’re anything like me you may like too many color schemes. I could do an entire post on choosing colors (coming soon 😉) but for today I’m going to give you the formula to keep it simple.
1 main color -This is the color you will use the most. Use it for backgrounds, headlines, etc. This is your staple color.
1 secondary color – This is your accent color (you might choose to use this color as much as your main and interchange how you use them)
1-3 neutral colors – These are the colors you will use for things such as body text and as other accent colors such as backgrounds on your website. These colors can also be as simple as black, white and gray or other neutral colors.
1 pop color – that will be used for calls to action such as opt-in headlines and buy buttons.
Start Exploring color schemes with the Adobe Color Wheel.
It can help to know your audience when choosing colors. Read This Post: 5 Things to Know About Your Audience
4: Brand Fonts – Don’t go down the Rabbit-Hole
Next Pick 2-3 Fonts. Now choosing fonts may be the deepest rabbit hole of design. Fonts are fun and I know I have wasted too much time comparing fonts. So choose fonts today and leave them be! When it comes fonts, may sure they are clear.
1 Header Font: This will be used on your website and graphics. I like to choose a clear font with multiple weights (for example, Poppins Light, Poppins Medium, Poppins Bold).
1 Sub-font / Body Font: I like to have a second font to use as an alternative to headlines and body copy.
1 Accent Font (optional): You can choose to make a decorative font like a handwritten font to add some creative flair to your graphics. Use this font very sparingly and make sure the words are still easy to read.
Troubleshoot: I chose fonts but they are not in Canva or my Website, Do I Need to Change?
Changing your fonts is an option especially if you are going to be creating all of your designs in Canva. You can also upgrade to Canva Pro and Upload your own fonts.
When it comes to your website I would just pick a look-a-like. And don’t think too much about it… if you use a san-serif font then just pick a sans-serif font like Poppins or Open Sans.
Look at how I use fonts in the examples below…
5 Branded Templates
This is the biggest hack of all and a BIG TIME SAVER. Once you are set on your colors and fonts the next step is to set up branded templates. You can source these from my shop, Creative Market or design your own.
The goal here is to get the templates set up with your colors and fonts so that all you need to do on a regular basis is plug in your headlines, calls to action and maybe swap out the background photo or color.
Set up templates in the graphic sizes you need on a regular basis (for me that is Pins for Pinterest, a Feature image for my blog, video cover image and a square image for social media).
My favorite place for these kinds of templates is in Canva, it is quick to pop in change what you need and go.
Get this Guide to Help You with Your Brand Vibe, Fonts, and Colors
Sign up below ▼
Before You Get Started with DIY-ing Your Brand or Rebranding
Before you start, make a plan. I suggest setting a time limit for each of the 5 steps. You could spend an hour on each step and do one step a day for a week. Branding can be one of those things that can take super long but I believe that if you are DIY-ing your brand make it a super simple process. As I mentioned in the logo section don’t let this keep you away from your money-making task. Once your business grows you can hire a professional for a rebrand. And chance are you and your business will go through some changes and shift anyway until you really hone in on your long term brand.
Don’t DIY Your Visual Brand Alone
One last tip… Get Feedback as you work through the 5 things you need for your brand. We are so close to our businesses that we often have a hard time seeing everything from the viewpoint of our target audience. (Even as a designer I have a hard time working on my own brand). Asking your community for feedback is a great way to drum some social media engagement. You can also ask in my facebook group.
Recapping DIY Branding Tips

Keep it simple for now
Don’t let branding stall your from actually growing your online business or blog. Keep it clear and simple and hire a professional later on.

Templates will Save You Time
Don’t work on a task that makes you feel productive but ultimately doesn’t take you anywhere. I hear too often that graphics take too long and also can make us feel like we are working… but is that really a money-making task. Set yourself up with branded templates so you only spend minutes on graphics.

Get Feedback on You Brand Choices
Don’t DIY alone… Ask your community or in my facebook group if your colors and fonts are aligning with the brand vibe you are going after.
This post may contain affiliate links with my honest opinion.